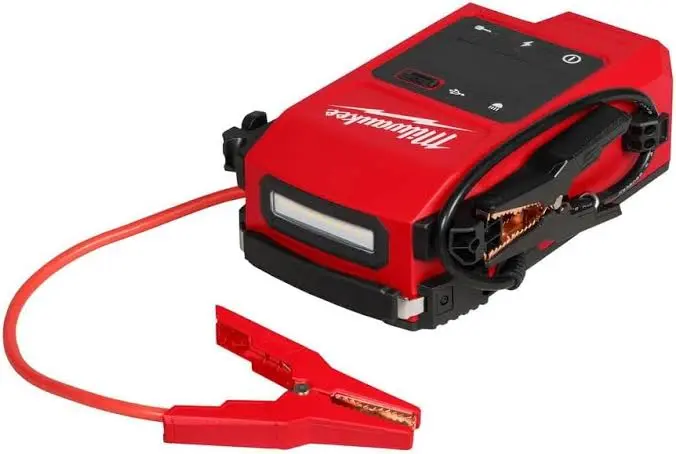
A milwaukee jump starter is a convenient way to get a dead battery back to life without relying on another vehicle or a set of jumper cables tangled in your trunk. But because you’re working directly with a vehicle’s electrical system, safety matters just as much as convenience. Knowing the correct process helps you avoid sparks, damage to your vehicle’s electronics, or injury.
Before You Start
A little preparation goes a long way toward a safe jump-starting process.
– Make sure the jump starter is fully charged before you need it; a partially charged unit may not deliver enough power and can behave unpredictably.
– Inspect the clamps and cables for any visible damage, fraying, or corrosion before connecting them to a battery.
– Turn off the vehicle’s ignition and all electrical accessories, such as headlights and the radio, before connecting the jump starter.
– Work in a well-ventilated area, since batteries can release small amounts of hydrogen gas, especially older or damaged ones.
Connecting the Jump Starter Correctly
Order matters when connecting a jump starter, and getting it wrong can cause sparking or damage.
– Connect the positive (red) clamp to the positive terminal on the vehicle’s battery first.
– Connect the negative (black) clamp to an unpainted metal surface on the vehicle’s frame or engine block, rather than directly to the negative battery terminal, to reduce the risk of sparks near the battery itself.
– Double-check that both clamps have a solid, secure connection before attempting to start the vehicle.
– Turn on the jump starter unit according to the manufacturer’s instructions, since some models require you to press a button to activate power flow.
Starting the Vehicle
– Attempt to start the vehicle as you normally would; most jump starters can get a standard vehicle started within a few seconds.
– If the vehicle doesn’t start on the first attempt, wait a short period before trying again rather than repeatedly cranking the engine, which can strain the starter motor.
– Once the vehicle starts, let it run for a few minutes before disconnecting the jump starter to allow the alternator to begin recharging the battery.
Disconnecting Safely
– Turn off the jump starter unit before disconnecting the clamps.
– Remove the negative (black) clamp first, followed by the positive (red) clamp, which is the reverse order of how you connected them.
– Store the clamps properly on the unit to avoid accidental contact between the positive and negative leads during storage.
Common Safety Mistakes to Avoid
– Never connect the clamps in reverse polarity (positive to negative), which can cause sparking, damage electronics, or in rare cases cause a battery to vent or rupture.
– Avoid using a jump starter on a battery that is visibly cracked, leaking, or frozen, since this increases the risk of an unsafe reaction.
– Don’t let the positive and negative clamps touch each other while the unit is powered on.
– Keep the jump starter away from open flames or sparks during use, given the small amount of gas that can be present near a battery.
Why Proper Technique Matters
A Milwaukee jump starter is designed with built-in safety features like spark-proof technology and reverse-polarity protection, but following correct procedure is still essential. Taking the extra minute to connect and disconnect the unit in the right order, in a safe environment, protects both your vehicle’s electrical system and you. Once you’ve done it a time or two, the process becomes second nature, and you’ll have the confidence to handle a dead battery wherever it happens.
Also Read-Unlocking Youthful Skin: The Wonders of Microneedling Pen Technology